Moderating Discord Servers
In case you’re unfamiliar, Discord is a messaging app similar in many ways to Slack. It was originally created for gaming communities, its voice chat making it a great option for staying in sync during cooperative play.
It’s also good for organizing conversations around specific topics or events!
Using Discord
Women of React was my first online conference of 2020. The organizers (Rachel Nabors, Sara Vieira, Jenn Creighton, and Kevin Lewis) used a combination of YouTube for streaming and Discord for community engagement which worked really well and allowed for a ton of customization. The video was public and anyone could watch live along with registered attendees. At the same time, only those registered attendees received an invitation to the Discord server.
The added step of needing to sign up for the conference was likely a deterrent for trolls who would have seen an event by and for women in tech as a target.
Using Discord allowed us to set up custom mod commands, post to specific channels when certain events occurred, and generally gave us more control than many other platforms would have.
Personally, I prefer Discord’s desktop application over the web app. Choose one or the other (or both!) and create your free server. You only need a name for it to get started.
Roles
You can configure up to 250 different roles for members of your Discord server. I’d recommend keeping them to a minimum, though. Start with roles for organizers, speakers, and mods.
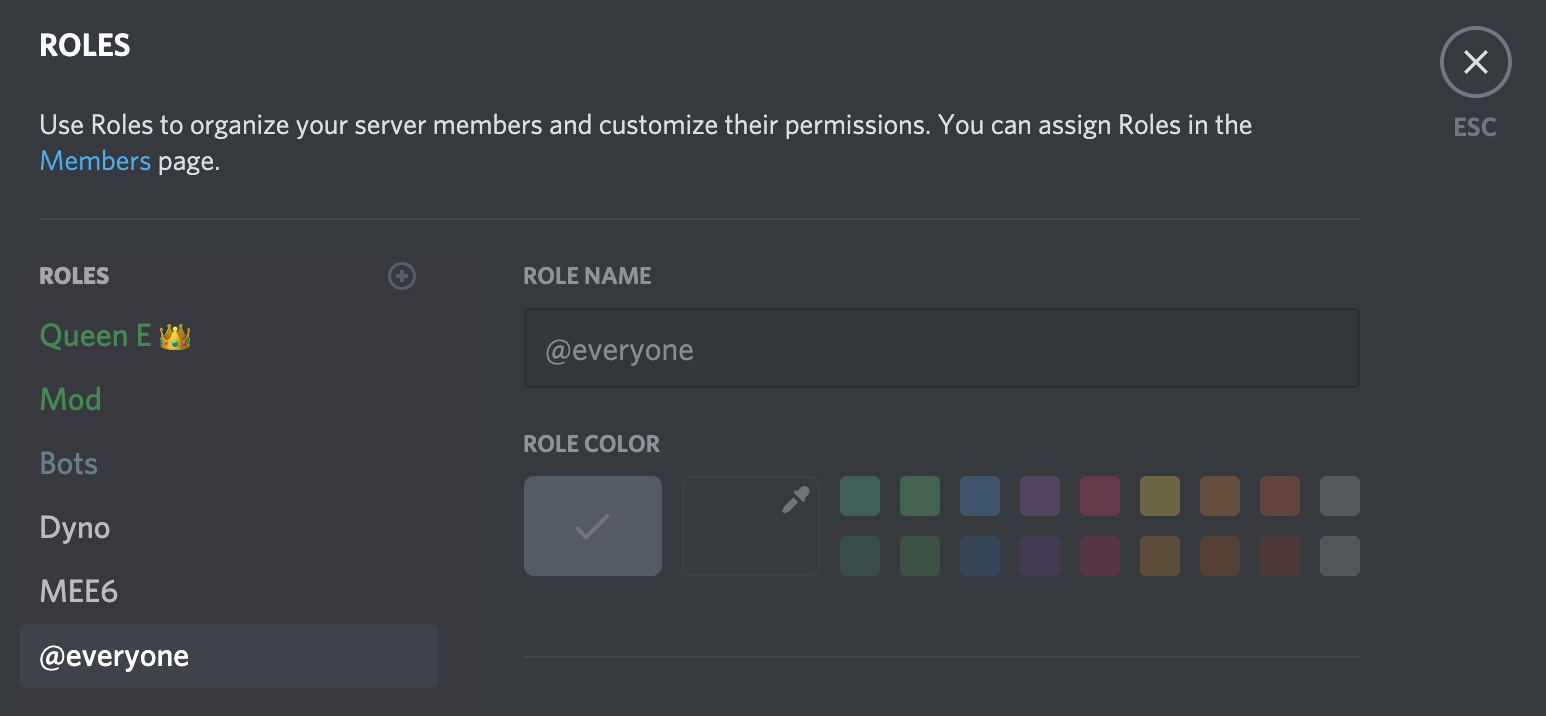
Any organizers who will be involved in moderation or otherwise need administrative access to the Discord server can be given Administrator permissions. If an organizer or any other staff member doesn’t need special permissions, don’t provide them. You can always add roles or take them away later.
At a minimum, your Mods role should have the following permissions:
- Kick Members
- Ban Members
- Read Text Channels & See Voice Channels
- Send Messages
- Manage Messages
- Read Message History
You can certainly include additional permissions depending on your specific community’s needs. Some (like “Change Nickname”) are totally unnecessary but can serve as a fun way to give volunteers a little extra freedom.
Channel permissions
By default, everyone has the same basic permissions (write and read messages, etc.) when you create a new public channel. You can restrict access by making it a private channel.
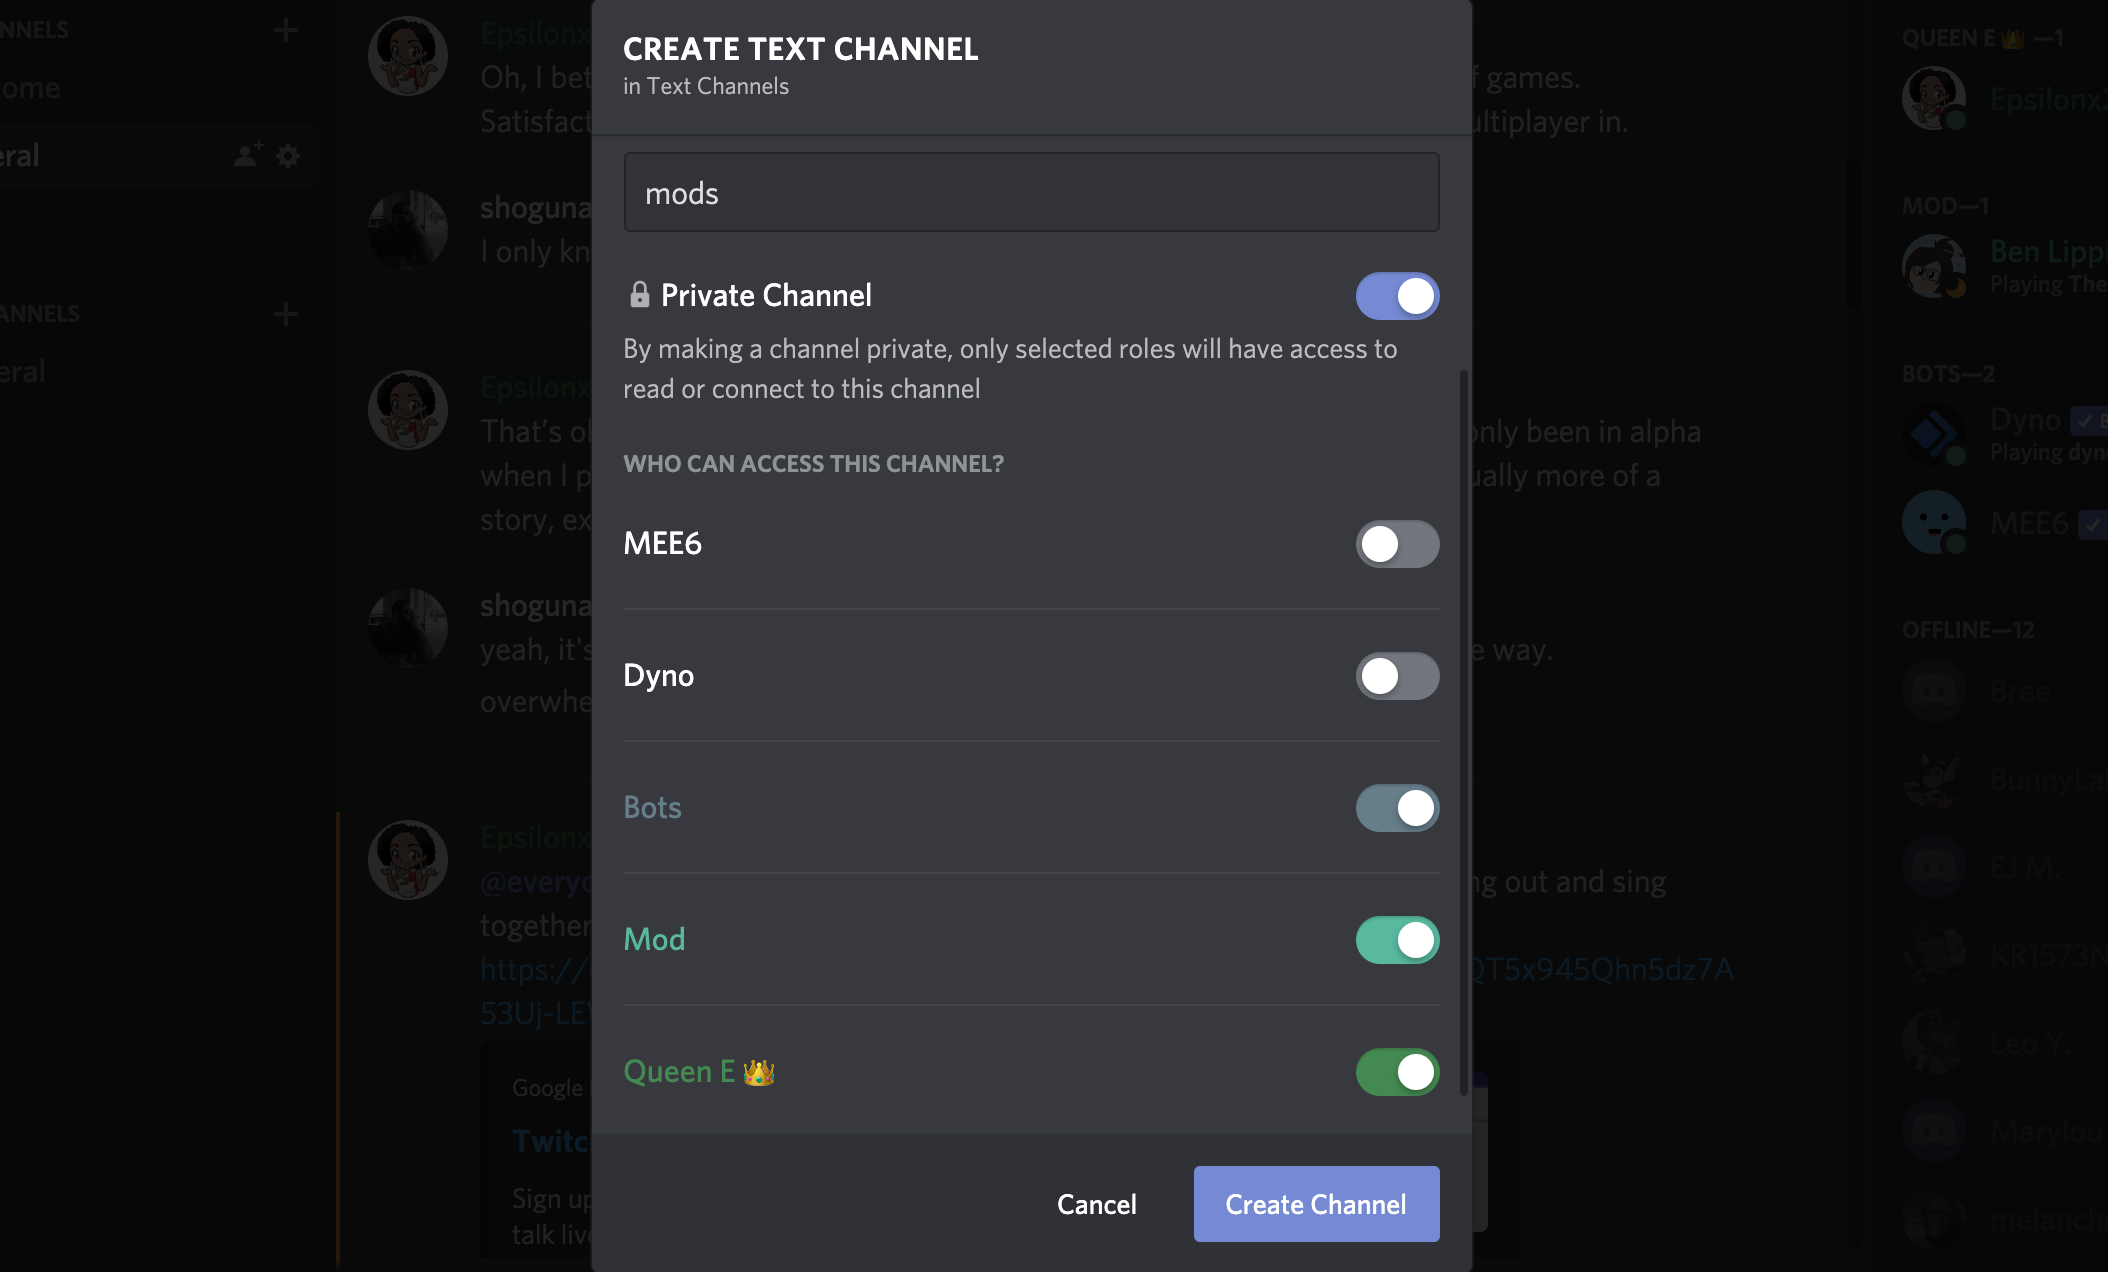
Create a channel specifically for conversations and notifications related to moderation. Use the roles you’ve created to set channel permissions.
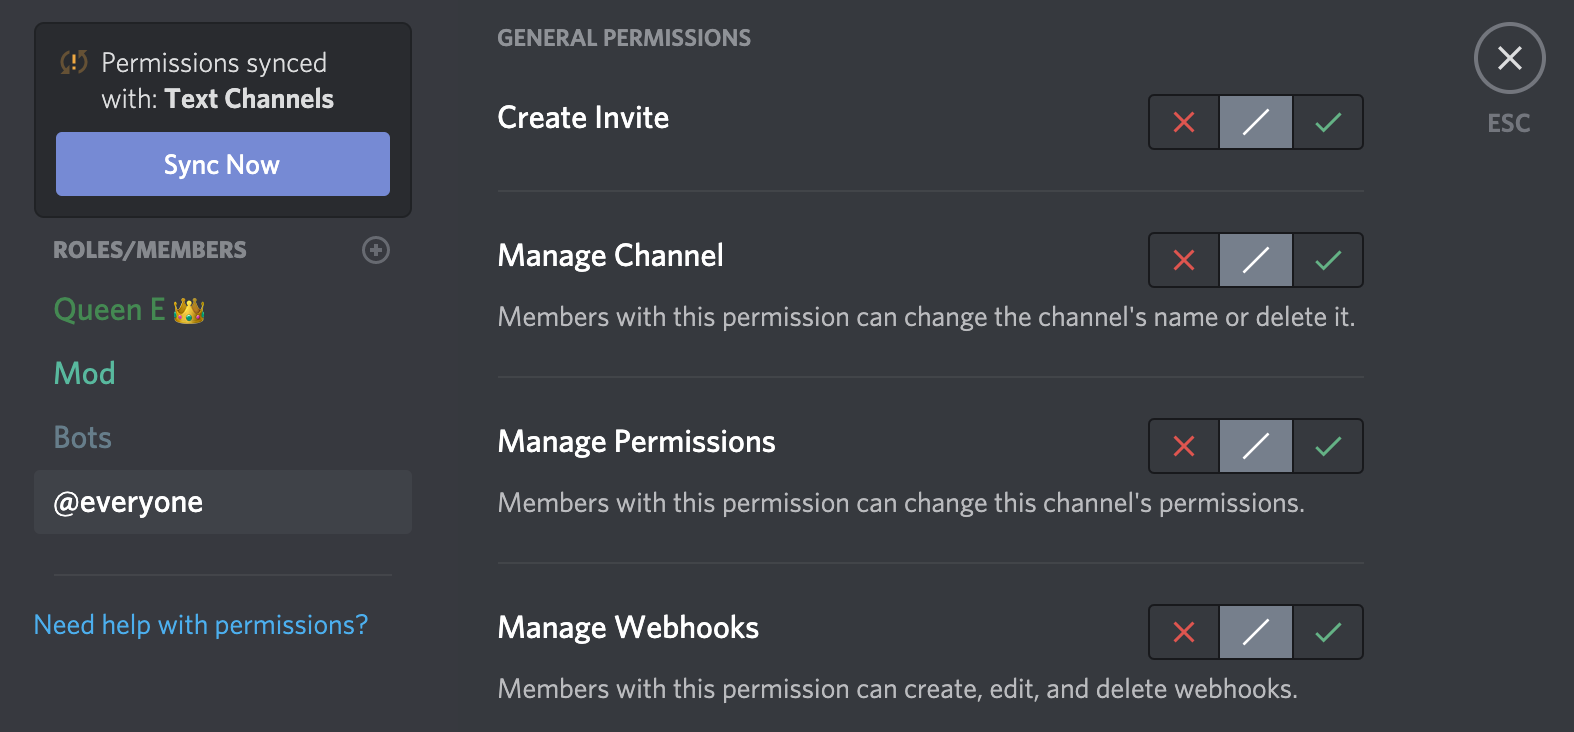
You can get pretty granular with these permissions, all the way down to determining who can use external emojis! As a general rule, give each person the lowest level of permissions they need to fulfill their role. Your mods don’t need to manage webhooks and most participants don’t need to use the @everyone command.
Welcome channel
Add a channel purely to guide new members of your server. Post your code of conduct and any Discord-specific instructions to this channel and then lock it down. (In the channel’s settings, deny everyone permission to write messages.) This way, everyone who joins the server will at least see the information. Whether they’ll read it is another story. 😅
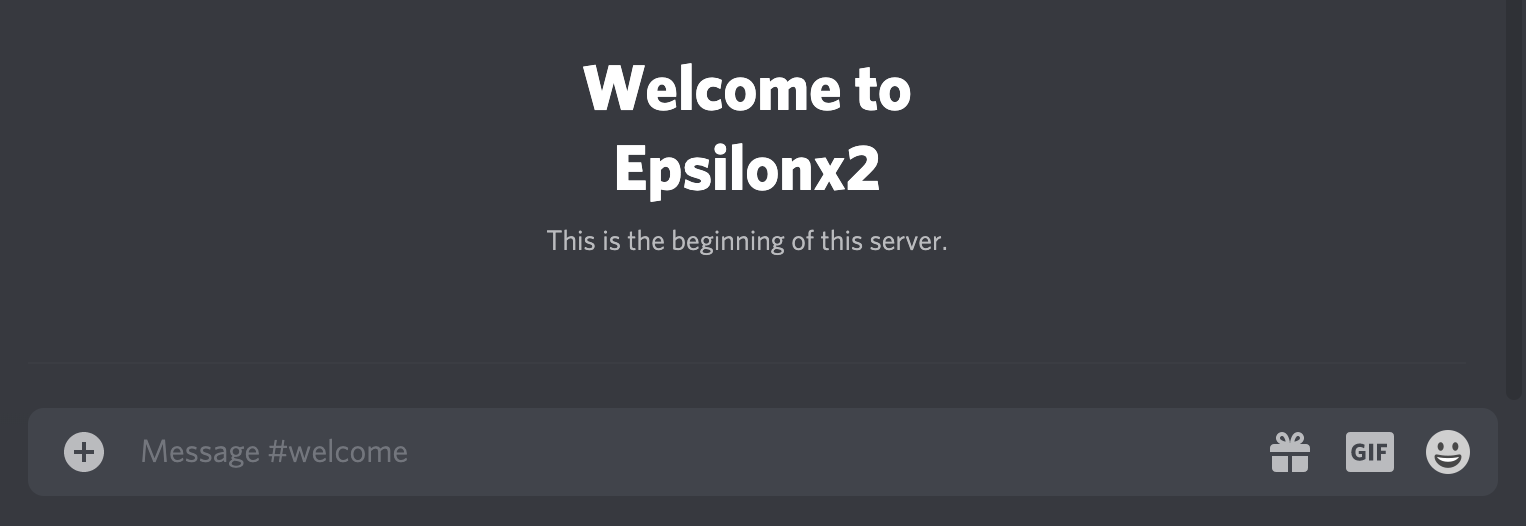
Make sure your welcome channel is at the top of your channel list! New members will be routed to whichever channel comes first. You can drag and drop to reorder your channels.
Installing Dyno Bot
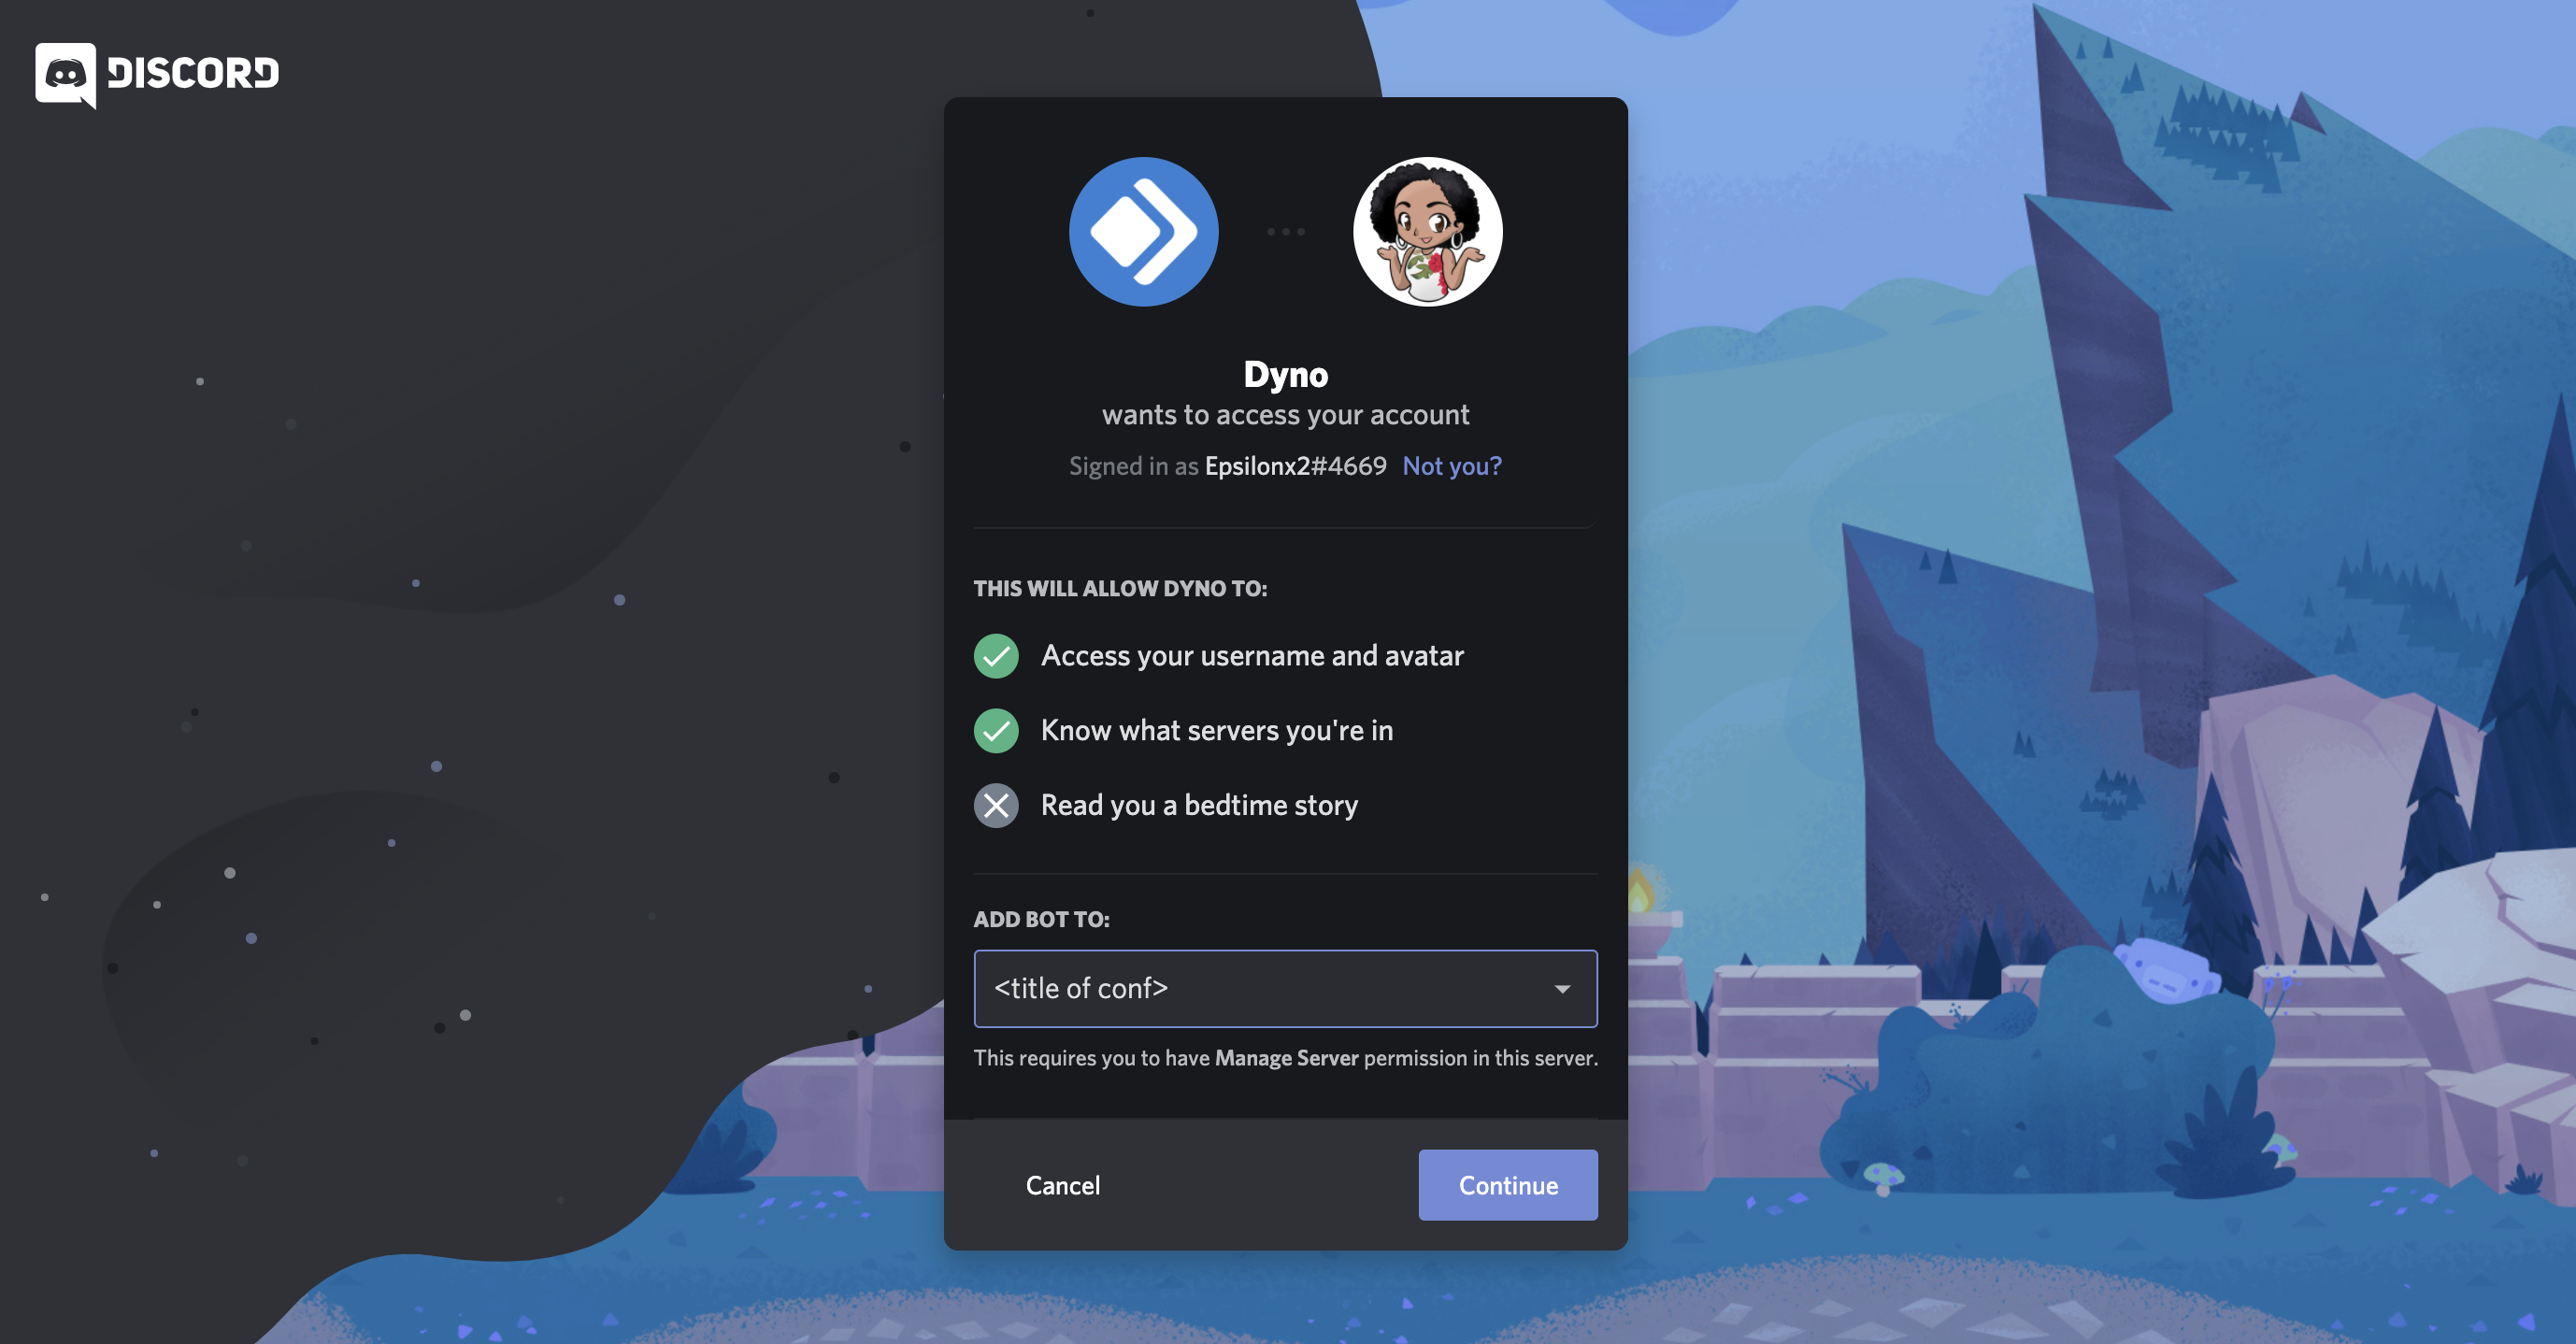
Now we get to the fun stuff! Dyno is a customizable bot for managing Discord servers. Sign up with Discord and select the “Add to server” button. Choose the server you’d like to add the bot to and then confirm the list of permissions you’d like it to have. Not all of those permissions are necessary. Use your best judgment (you can probably uncheck “Speak”, for example) and make adjustments later if and when you need to.
Once that’s done, you’ll be redirected to your Dyno dashboard and you can begin customizing it to fit your needs. Direct your attention to the modules section. Hit “See All” or navigate to the modules section by selecting it from the navbar on the left.
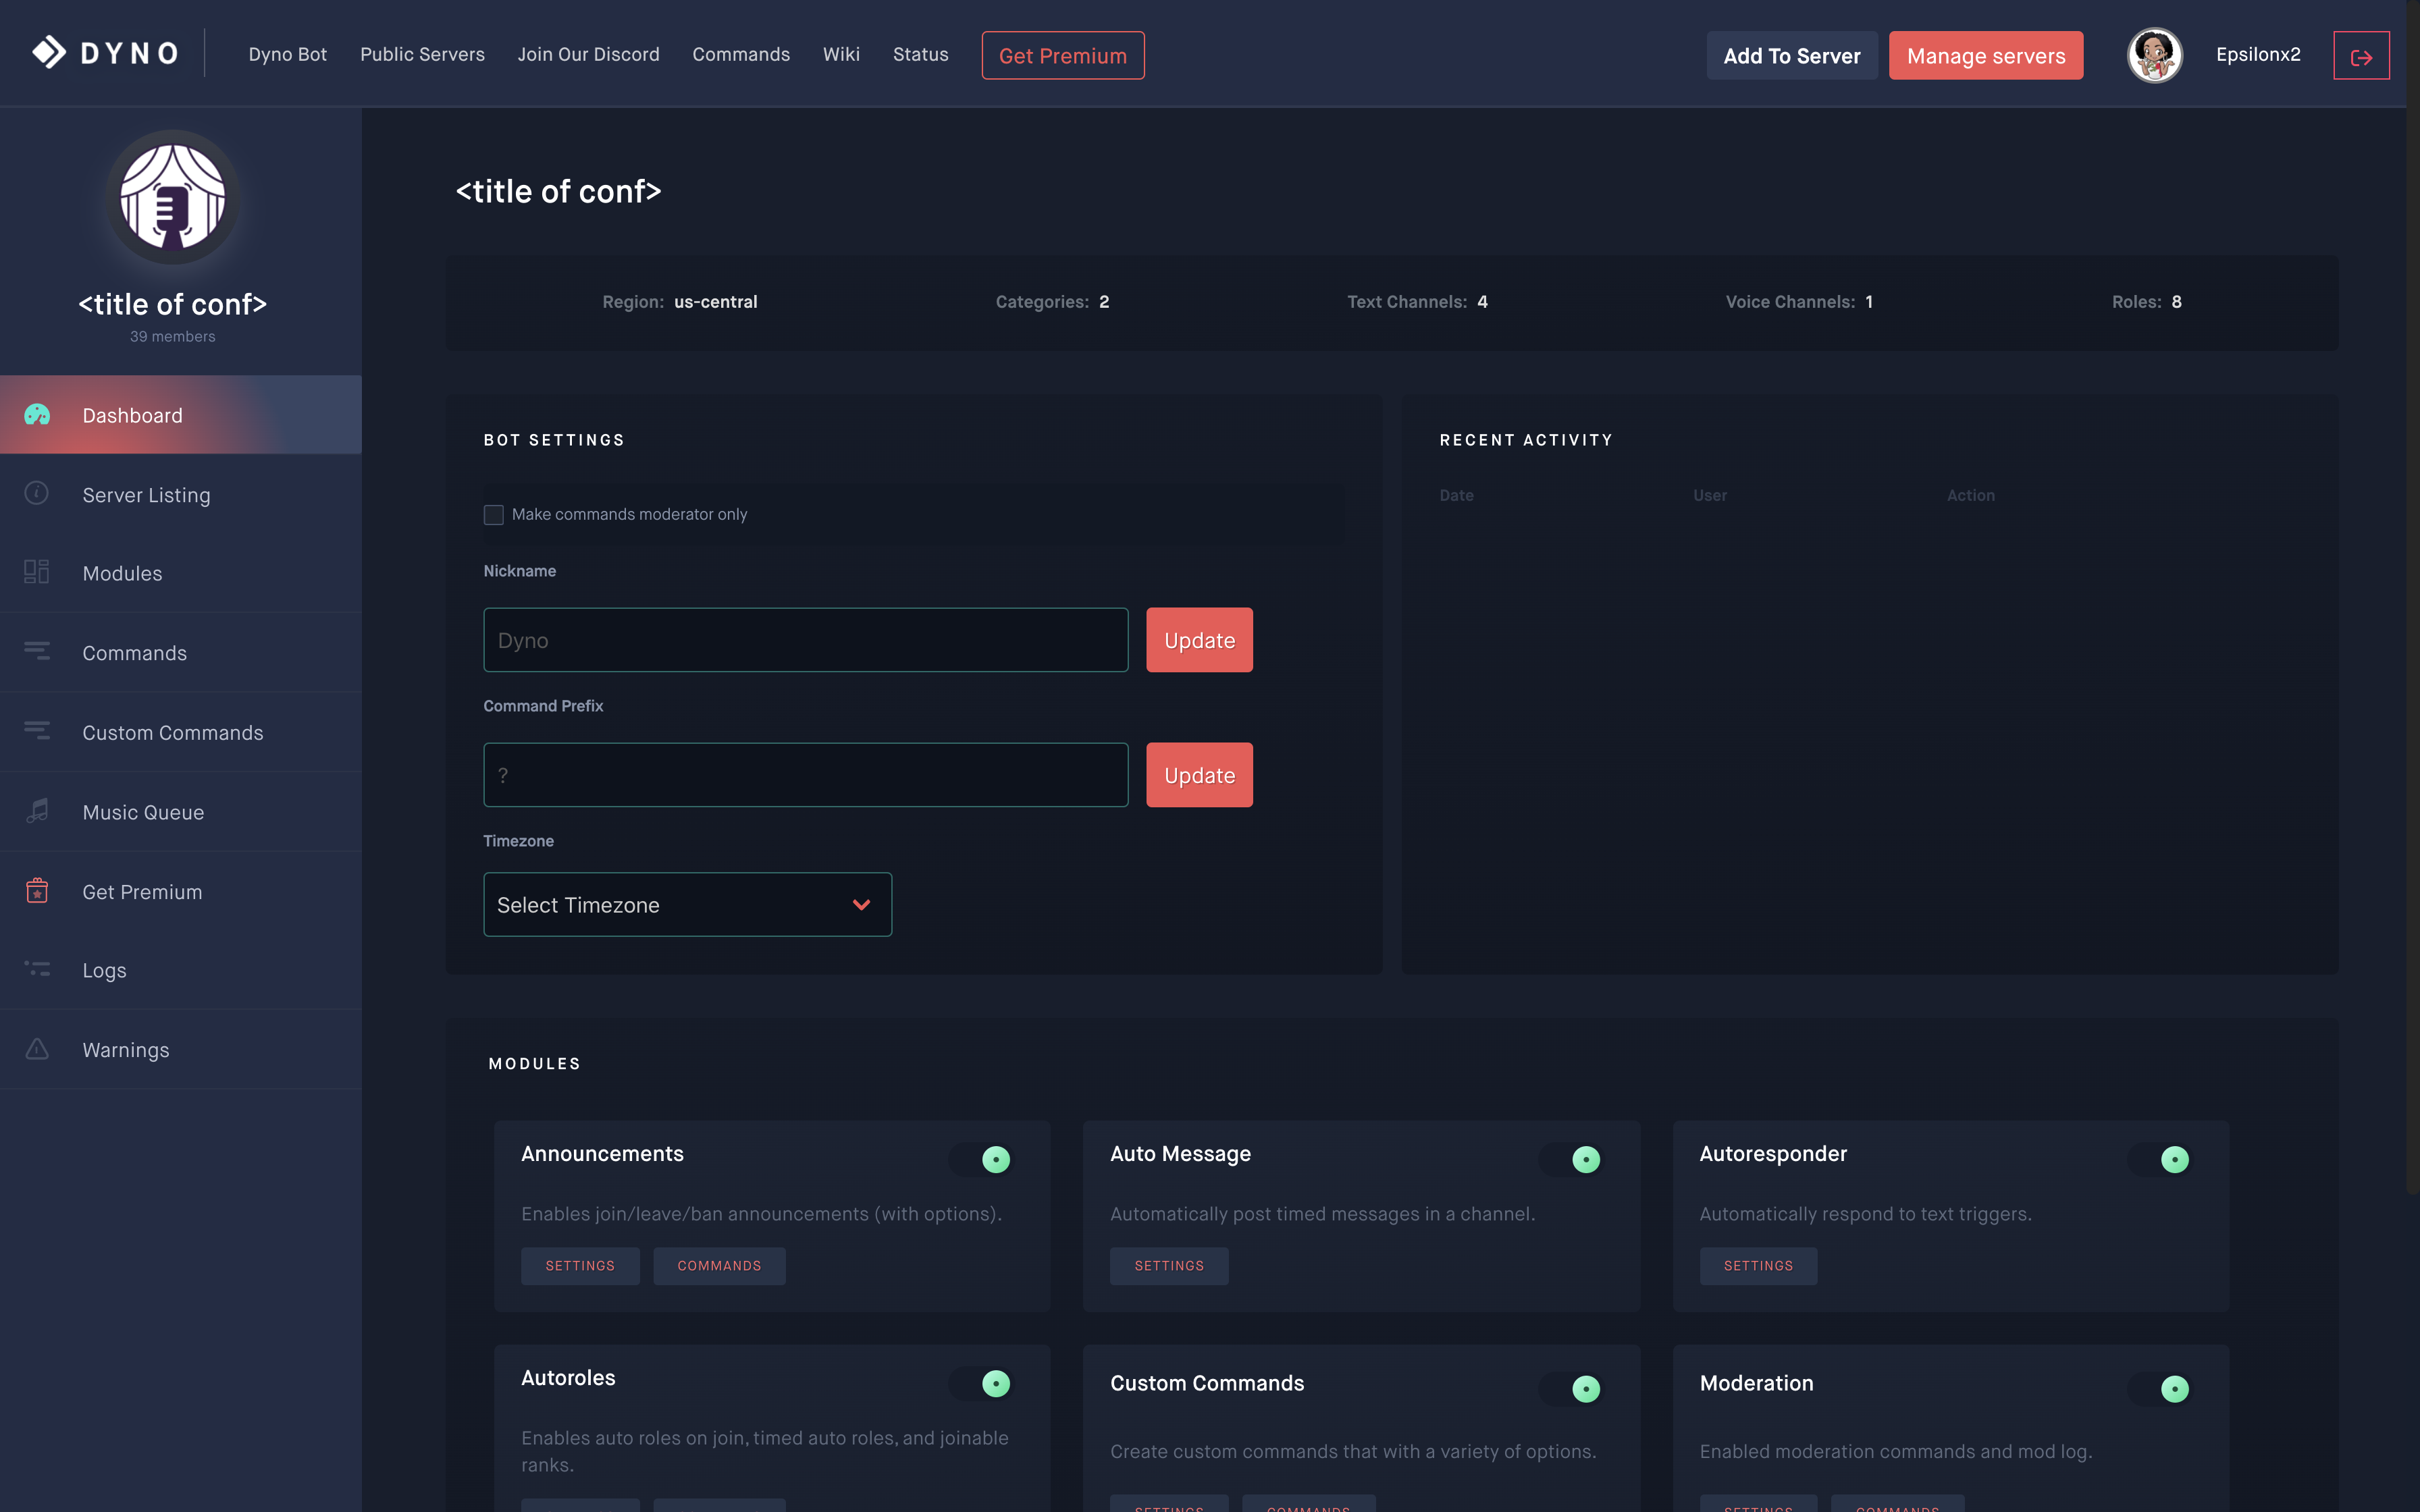
Try not to get overwhelmed by all the options! For right now, focus on the Automod and Moderation modules.
Configuring the Automod module
Beginning with the Automod module, select “Settings”. First, create a new mod-log channel in Discord and set that as your log channel. This way, you don’t have to sift through conversation to read your log. This can have the exact same permissions as the mods channel you already created. From there, you can determine what should happen when each filter catches a message on your server. I suggest the following settings:
- Banned Words: Delete, Warn
- All Caps: Warn
- Duplicate Text: Delete
- Mass Mentions: Delete, Warn, Auto Mute
- Link Cooldown: Warn
- Image Spam: Delete, Warn, Auto Mute
See how you do with these settings and adjust if you need to. Depending on the audience or the focus of your event, for example, you might choose to use the All Links filter to keep members from posting any links at all.
You can adjust the limits that trigger these filters. Want to be a little more lax about emoji use? Try increasing the limit from the default four to whatever you think is reasonable. Maybe change the amount of time users who break the rules stay automuted. Setting these up now, before things go wrong, will allow you more bandwidth to deal with more pressing issues that Automod might not catch during your event.
To finish setting up the Automod module, list the channels and roles you’d like Automod to ignore. Generally, your rules should apply to everyone across all channels. If you need to relax individual rules for mods and/or staff, try adjusting the settings of the relevant filter individually. You can do so by clicking the gear icon next to the filter you’d like to adjust.
Configuring the Moderation module
The Moderation module is a little more straightforward. First, check the settings you’d like to enable. I recommend checking the following options:
- DM users on kick/ban/mute
- Delete mod commands after executed
- Enable ban match command
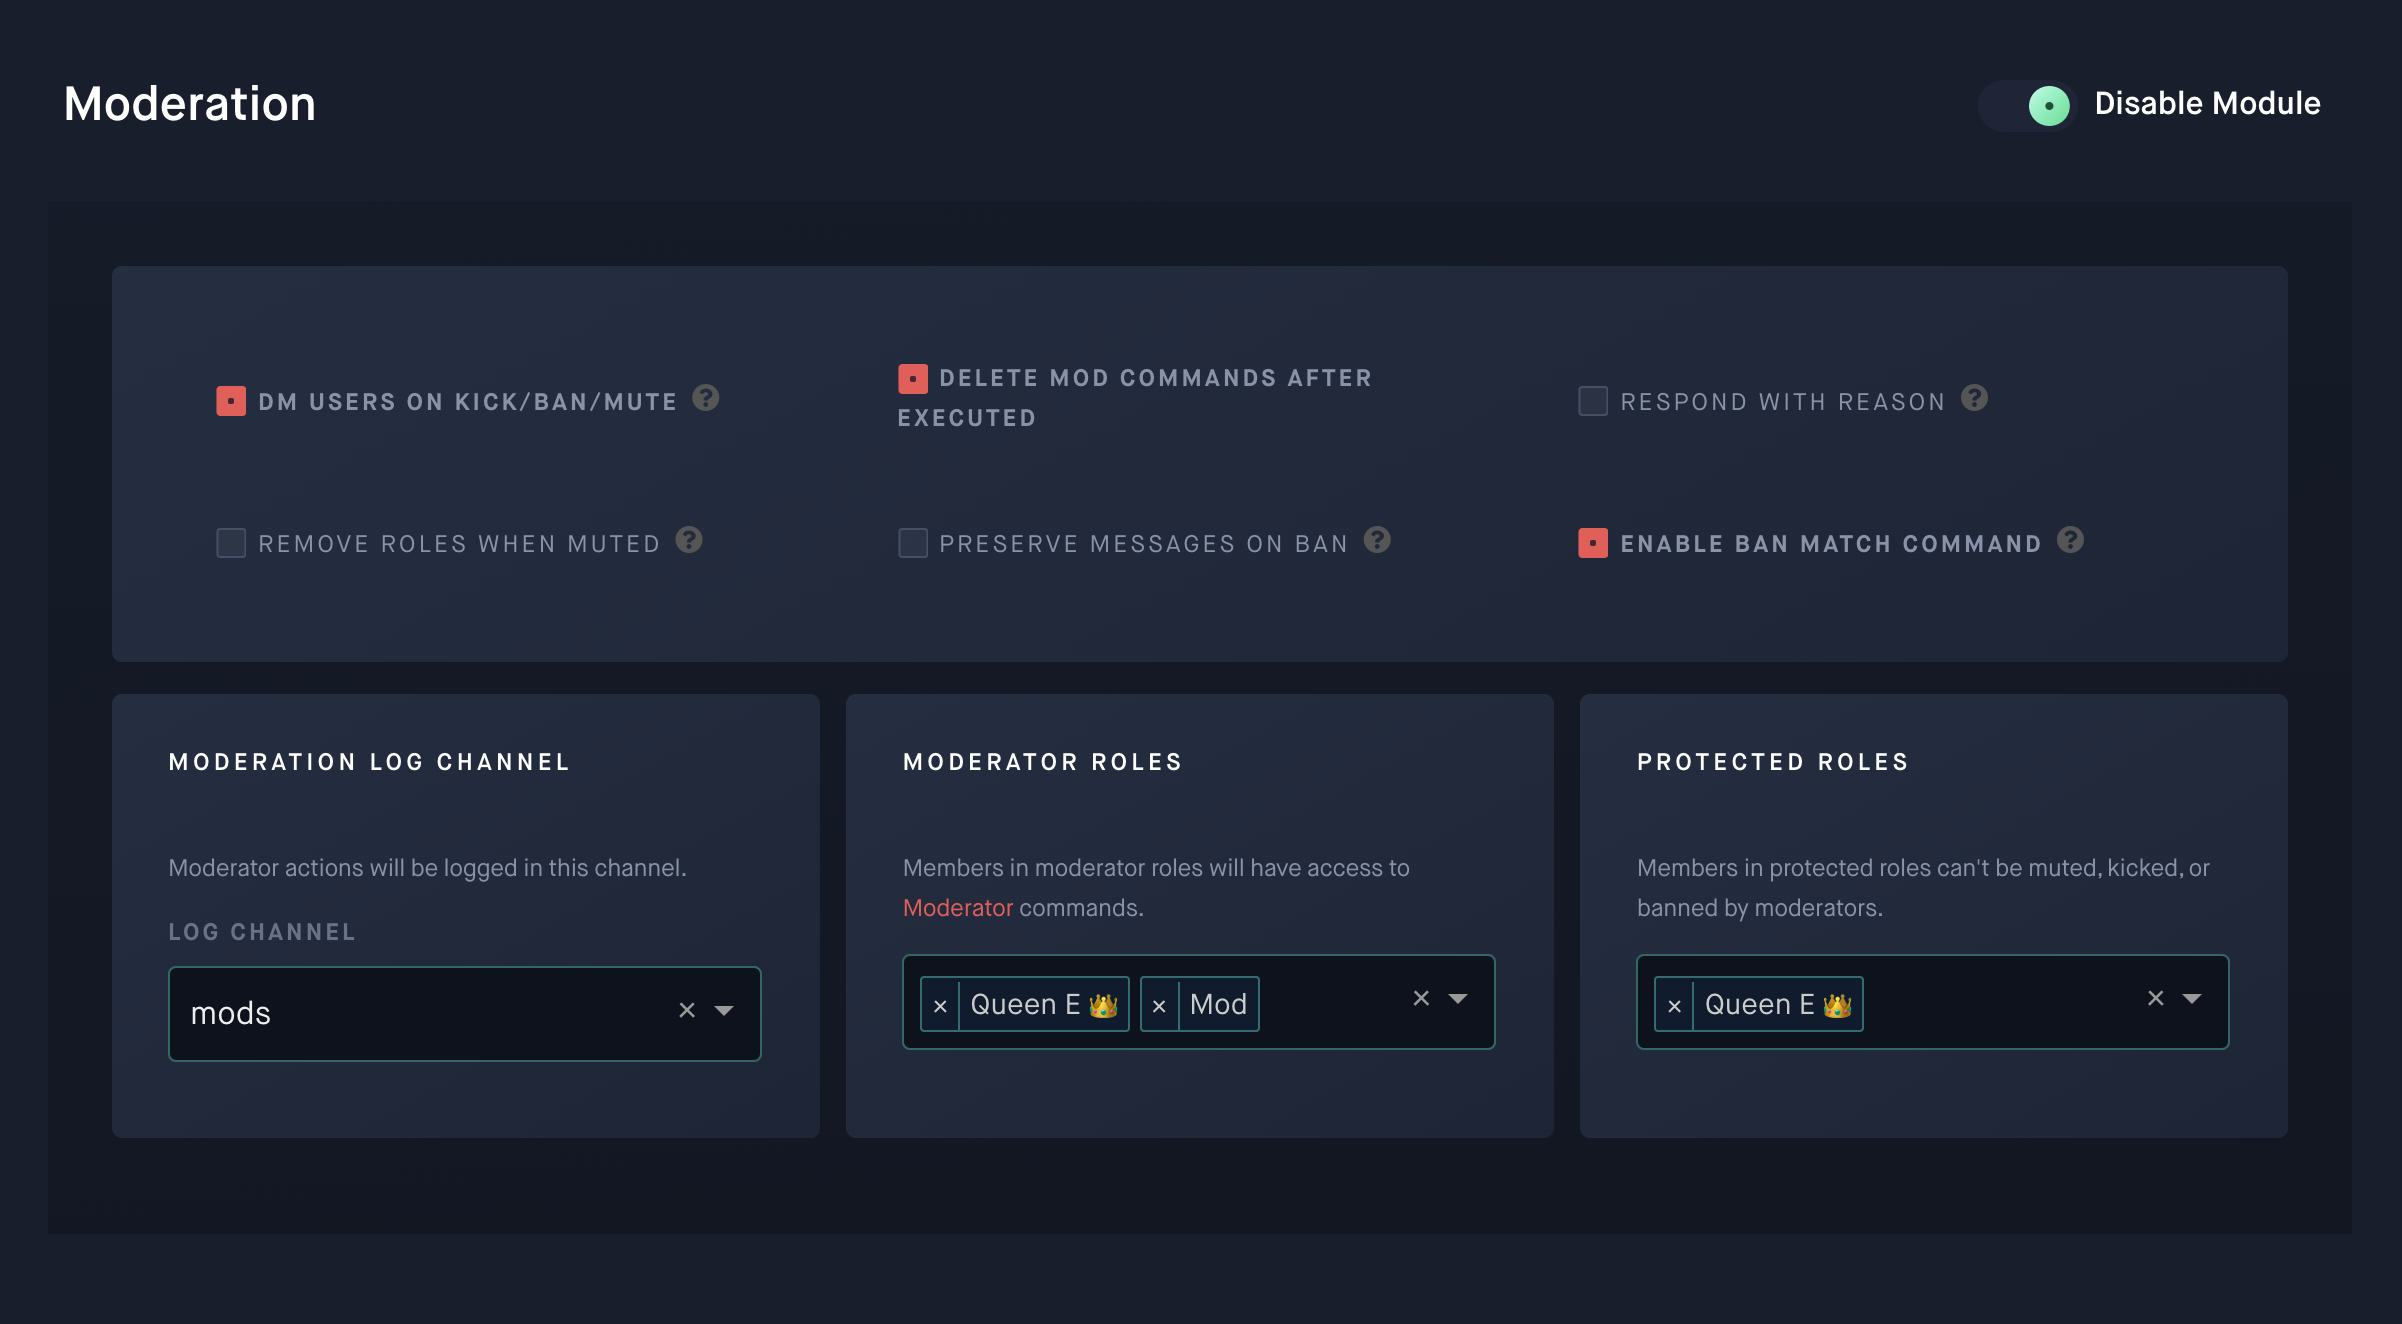
Sometimes moderators make mistakes. Whenever your moderators take any action, the reason for that action should be clearly logged. Your moderation log channel will automatically receive a list of mod actions. Use your mod-log channel for this as well.
Writing custom commands
Dyno Bot covers most of the operations you’re likely to need out of the box but it doesn’t provide a method for members of the server to report violations of the code of conduct from within Discord. Adding custom commands gives you more flexibility and control over your participants’ experience. The following sections show a few commands I recommend.
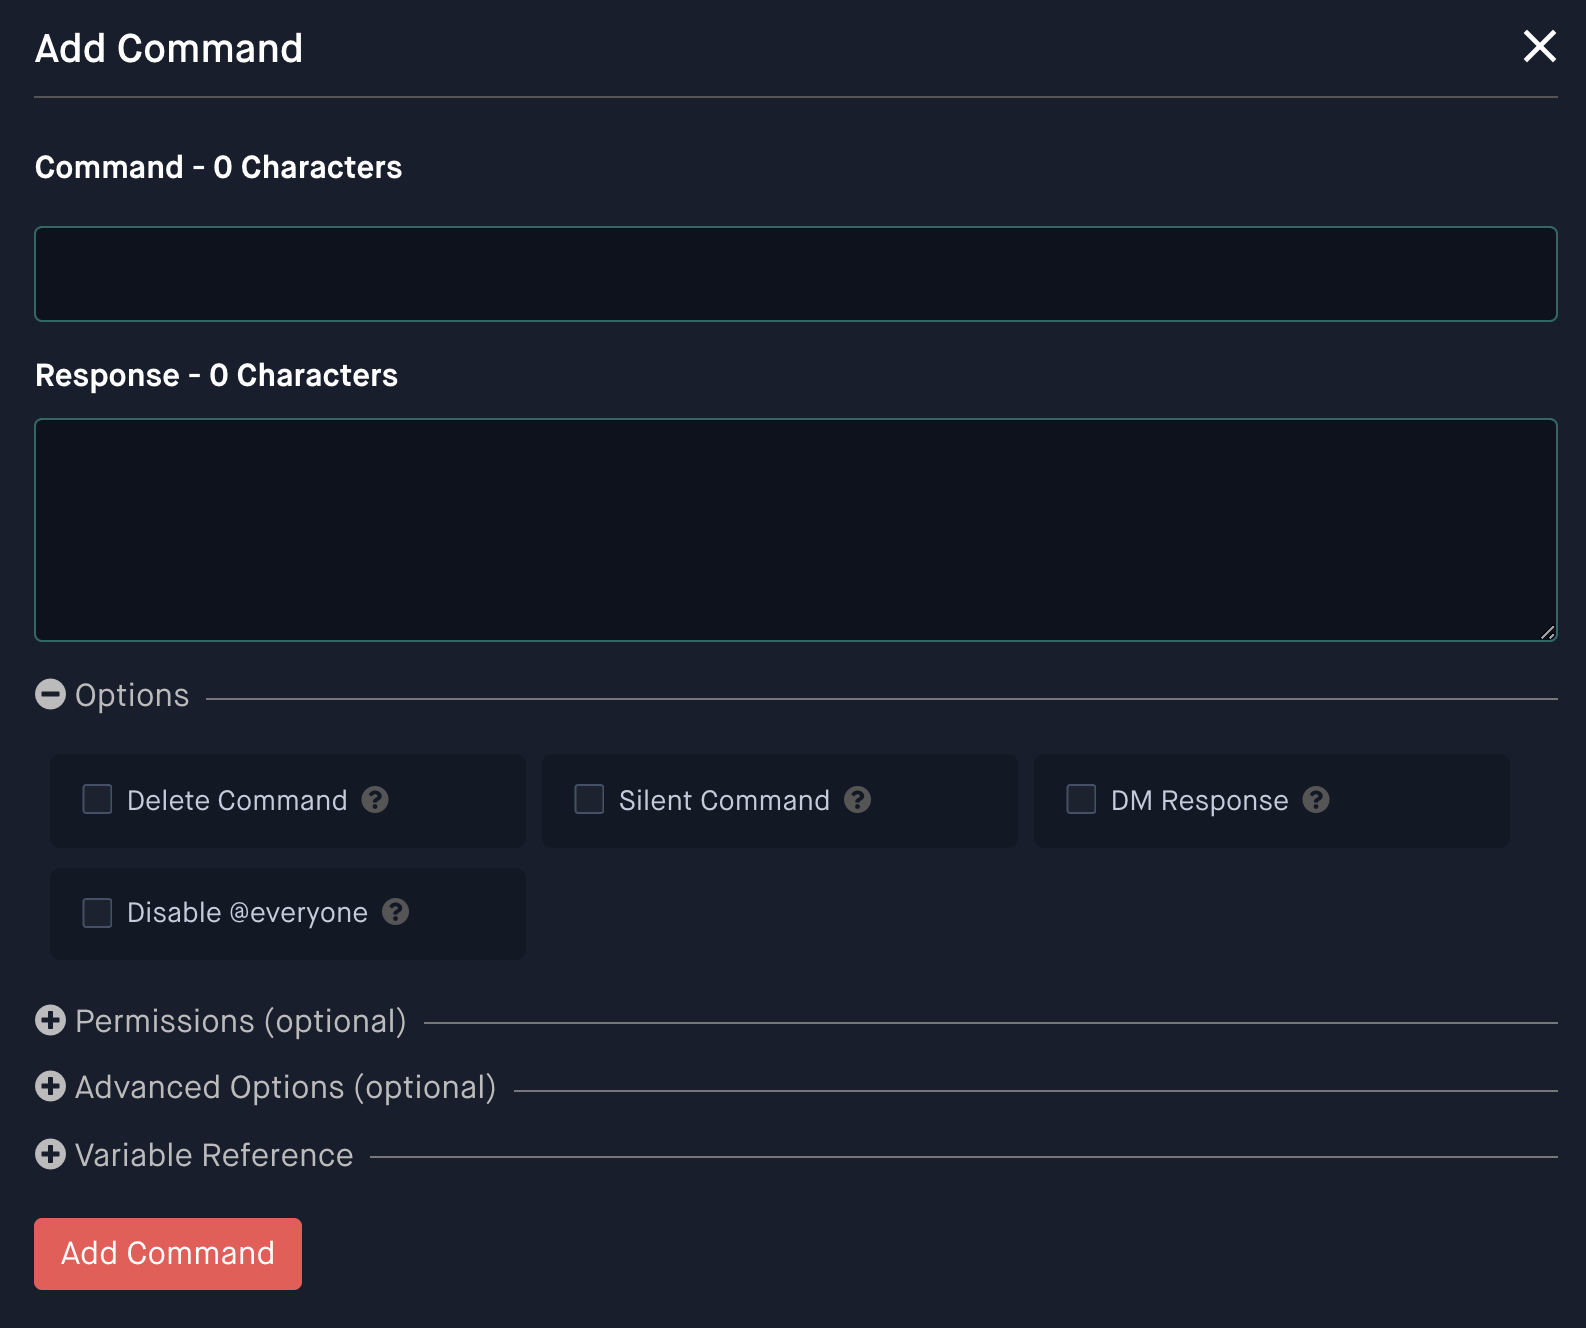
When you’re ready, hit “Add Command” and fill in the form that pops up. Whatever you enter under “Command” will be what members will need to type, prefixed by a question mark, in order to use the command. The text under “Responses” detail what happens when the command is run. For more detailed documentation of the custom command syntax, check out Custom Commands on the Dyno wiki.
Report
{delete}
{respond:#mods}
**TIME:** {date}, {time12} EST
**CHANNEL:** {channel}
**REPORTER:** {user.name}
**OFFENDER**: $1
**REASON:** $2+
Run this command with ?report [username][message]. The command will be deleted immediately and the response will be sent to the mods channel. That response will contain the time the report was submitted, the username of the reporter, the username of the person they’re reporting, and a message. The $1 represents the first argument (or the first word that came after ?report) and the $2+ represents the second argument (or word) plus everything after that.
Anonymous Report
{delete}
{respond:#mods}
**TIME:** {date}, {time12} EST
**CHANNEL:** {channel}
**OFFENDER**: $1
**REASON:** $2+
You could call it a day and congratulate yourself on a job well done… or you could take one more step to give your participants the option to report code of conduct violations anonymously. Remove the **REPORTER:** {user.name} line from the responses and you’ve got yourself an anonymous reporting system!
There are a few issues with this method. Make sure to give the command a distinct name. If you find that you’re getting a lot of spam via the anonymous reporting command, you can always create a separate anonymous reports channel (the same way you created mod-log) and send responses there.
Call mods
{delete}
{respond:#mods}
{&Mod}, {user.name} needs your attention in {channel}!
The ?mods command is used as an alternative to calling publicly for moderator support, which could draw unwanted attention. It will also be deleted upon use but posts a message to the mods channel. You can replace the third line with whatever you’d like to use as an alert for the moderation team.
Next steps
Once you’ve got your server all set up, make sure your mods (and all your community members, really) understand the reporting process and know how to use your custom commands! For more tips on training moderators, see my post on moderating online events.